IRD-2,-3,-4 Instructions

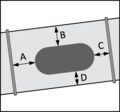
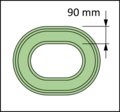
These access doors need more space, since the cover plate is around 90 mm wide:
A ≈ min. 100 mm
B ≈ min. 100 mm
C ≈ min. 100 mm
D ≈ min. 100 mm

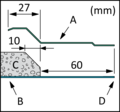
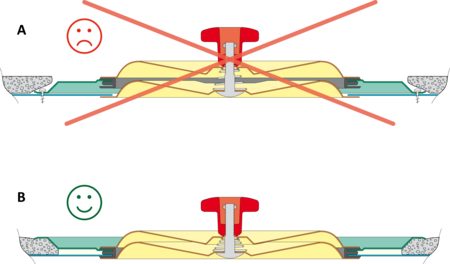
Cut the insulation about 20 mm inside the mark. For rigid insulations carve an oblique edge of about 10 mm.
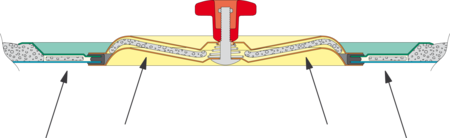
A : Cover plate
B : Duct wall
C : Insulation
D : Aligned edges
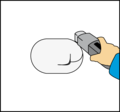
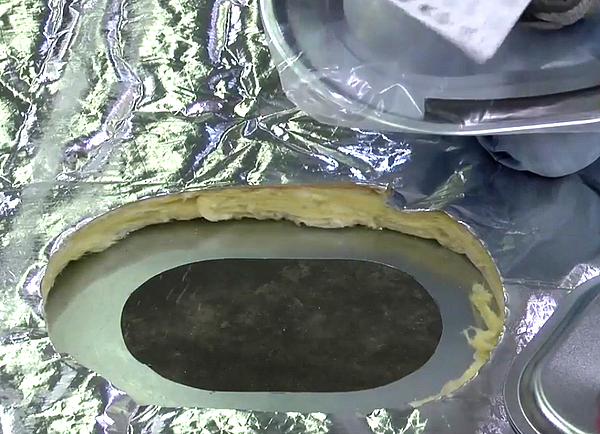
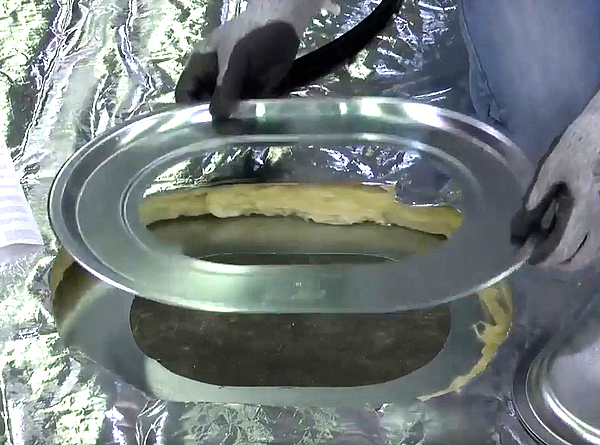
Use the cover plate as a template to make the duct opening by marking around its inner edge. Then cut the ductwork carefully following this mark.

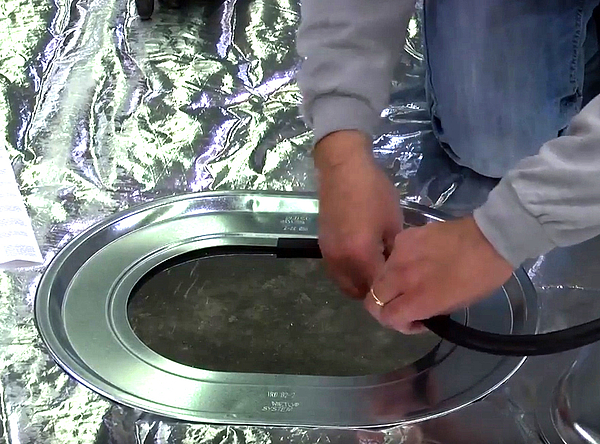
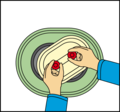
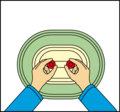
Fix the cover plate to the ductwork using the IRD rubber profile by inserting the duct wall into one groove and the cover plate into the other. Start at a straight section.
The rubber profile is supplied at the correct length for each door size. Join the rubber ends as illustrated above and push them into place.
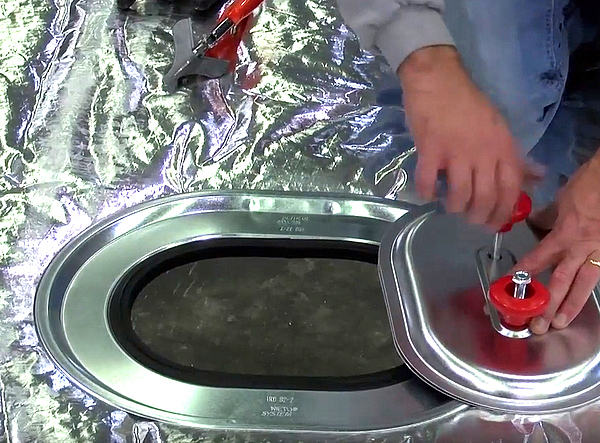
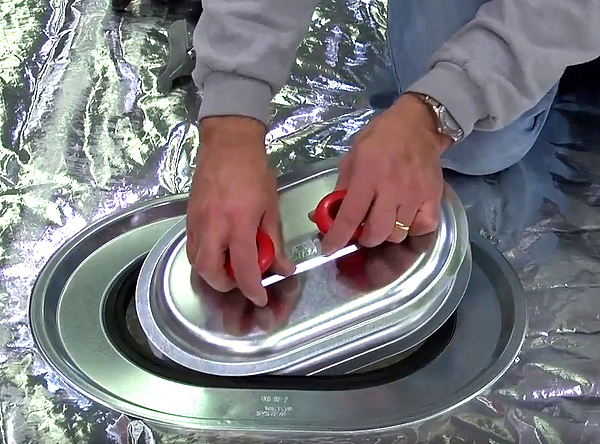
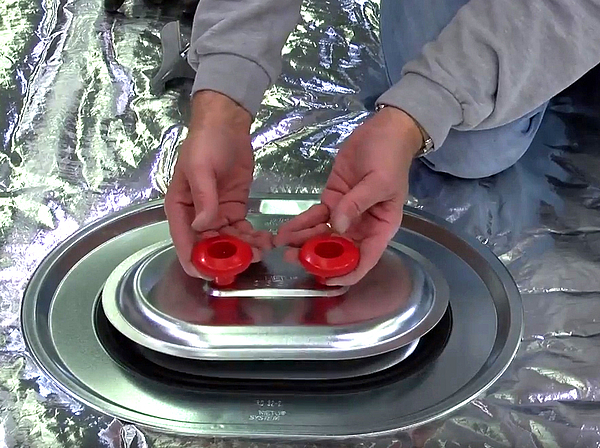
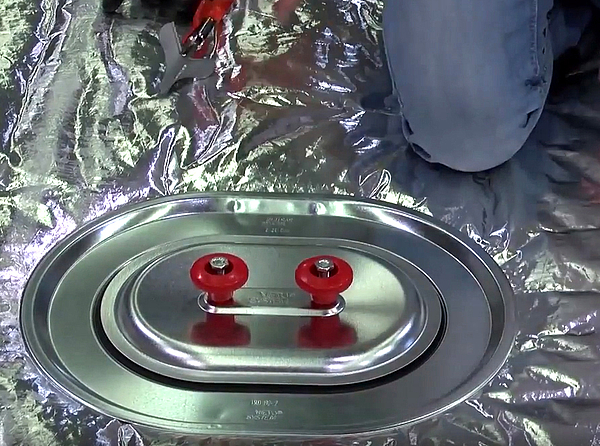
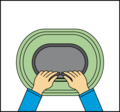
Turn the knobs till they hit the stops and insert the inner door panel inside the opening at an angle.
All access door sizes can be used on outside insulated rectangular ductwork (assuming that they are large enough).